Circuit diagram
This circuit diagram shows the wiring of the individual parts.
For specific nodes, I soldered small individual circuit boards. Therefore the common used 3,3 V output of the Teensy, the overall same Ground-Pol and the I2C connection got there own small board. In addition, I soldered an extra 3 pole circuit board for the power supply of the teensy and the proximity sensor which is connected directly to the battery. With this setup, the proximity sensor is able to sense a higher distance.

Electronic parts
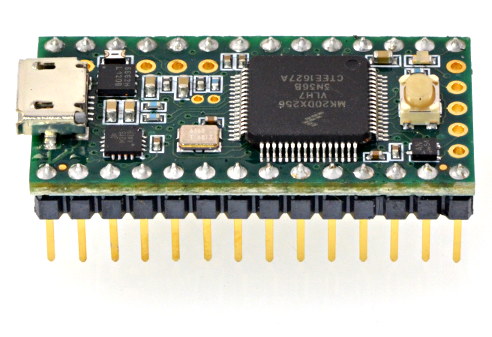
Microcontroller – Teensy 3.2
This is the brain of the ProCon. The Teensy is as easy to programme as every other Arduino board with the same Arduino IDE.
Although his small size his performance equals an Arduino Mega.
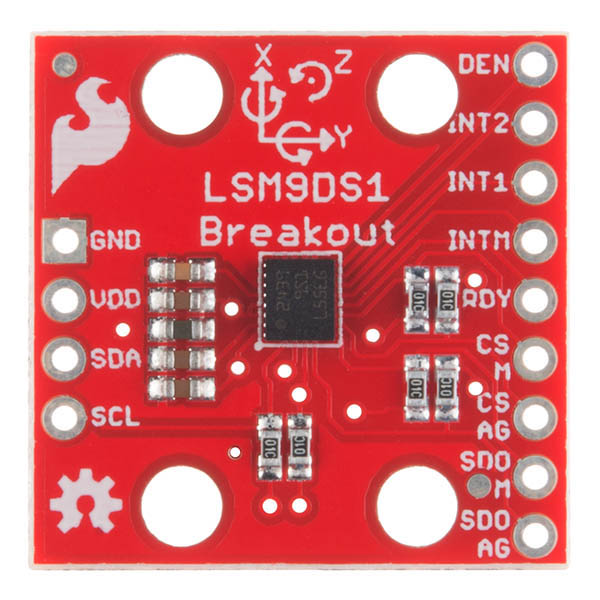
Accelerometer – LSM9DS1
This accelerometer got an additional 3 Axes Gyroskop and a 3 Axex Magnetometer which gives this small sensor 9 degrees of freedom.
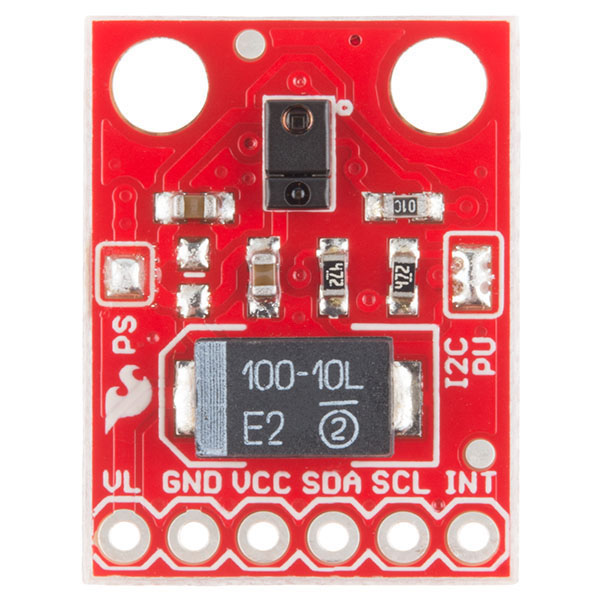
Gesture-Sensor – APDS-9960
This small technical innovation can’t just recognize different gestures. It’s although capable of recognizing the color of the ambient light.

Proximity-Sensor – MB1240
With his ultrasonic technologies, this sensor can recognize objects at 7 meters distance.

Capacitive Touch – AT42QT1070-Standalone
This Sensor recognizes the touching of up to 5 electric conductive surfaces. With its self-celebrating processor its possible to work with really small and sensitive amounts
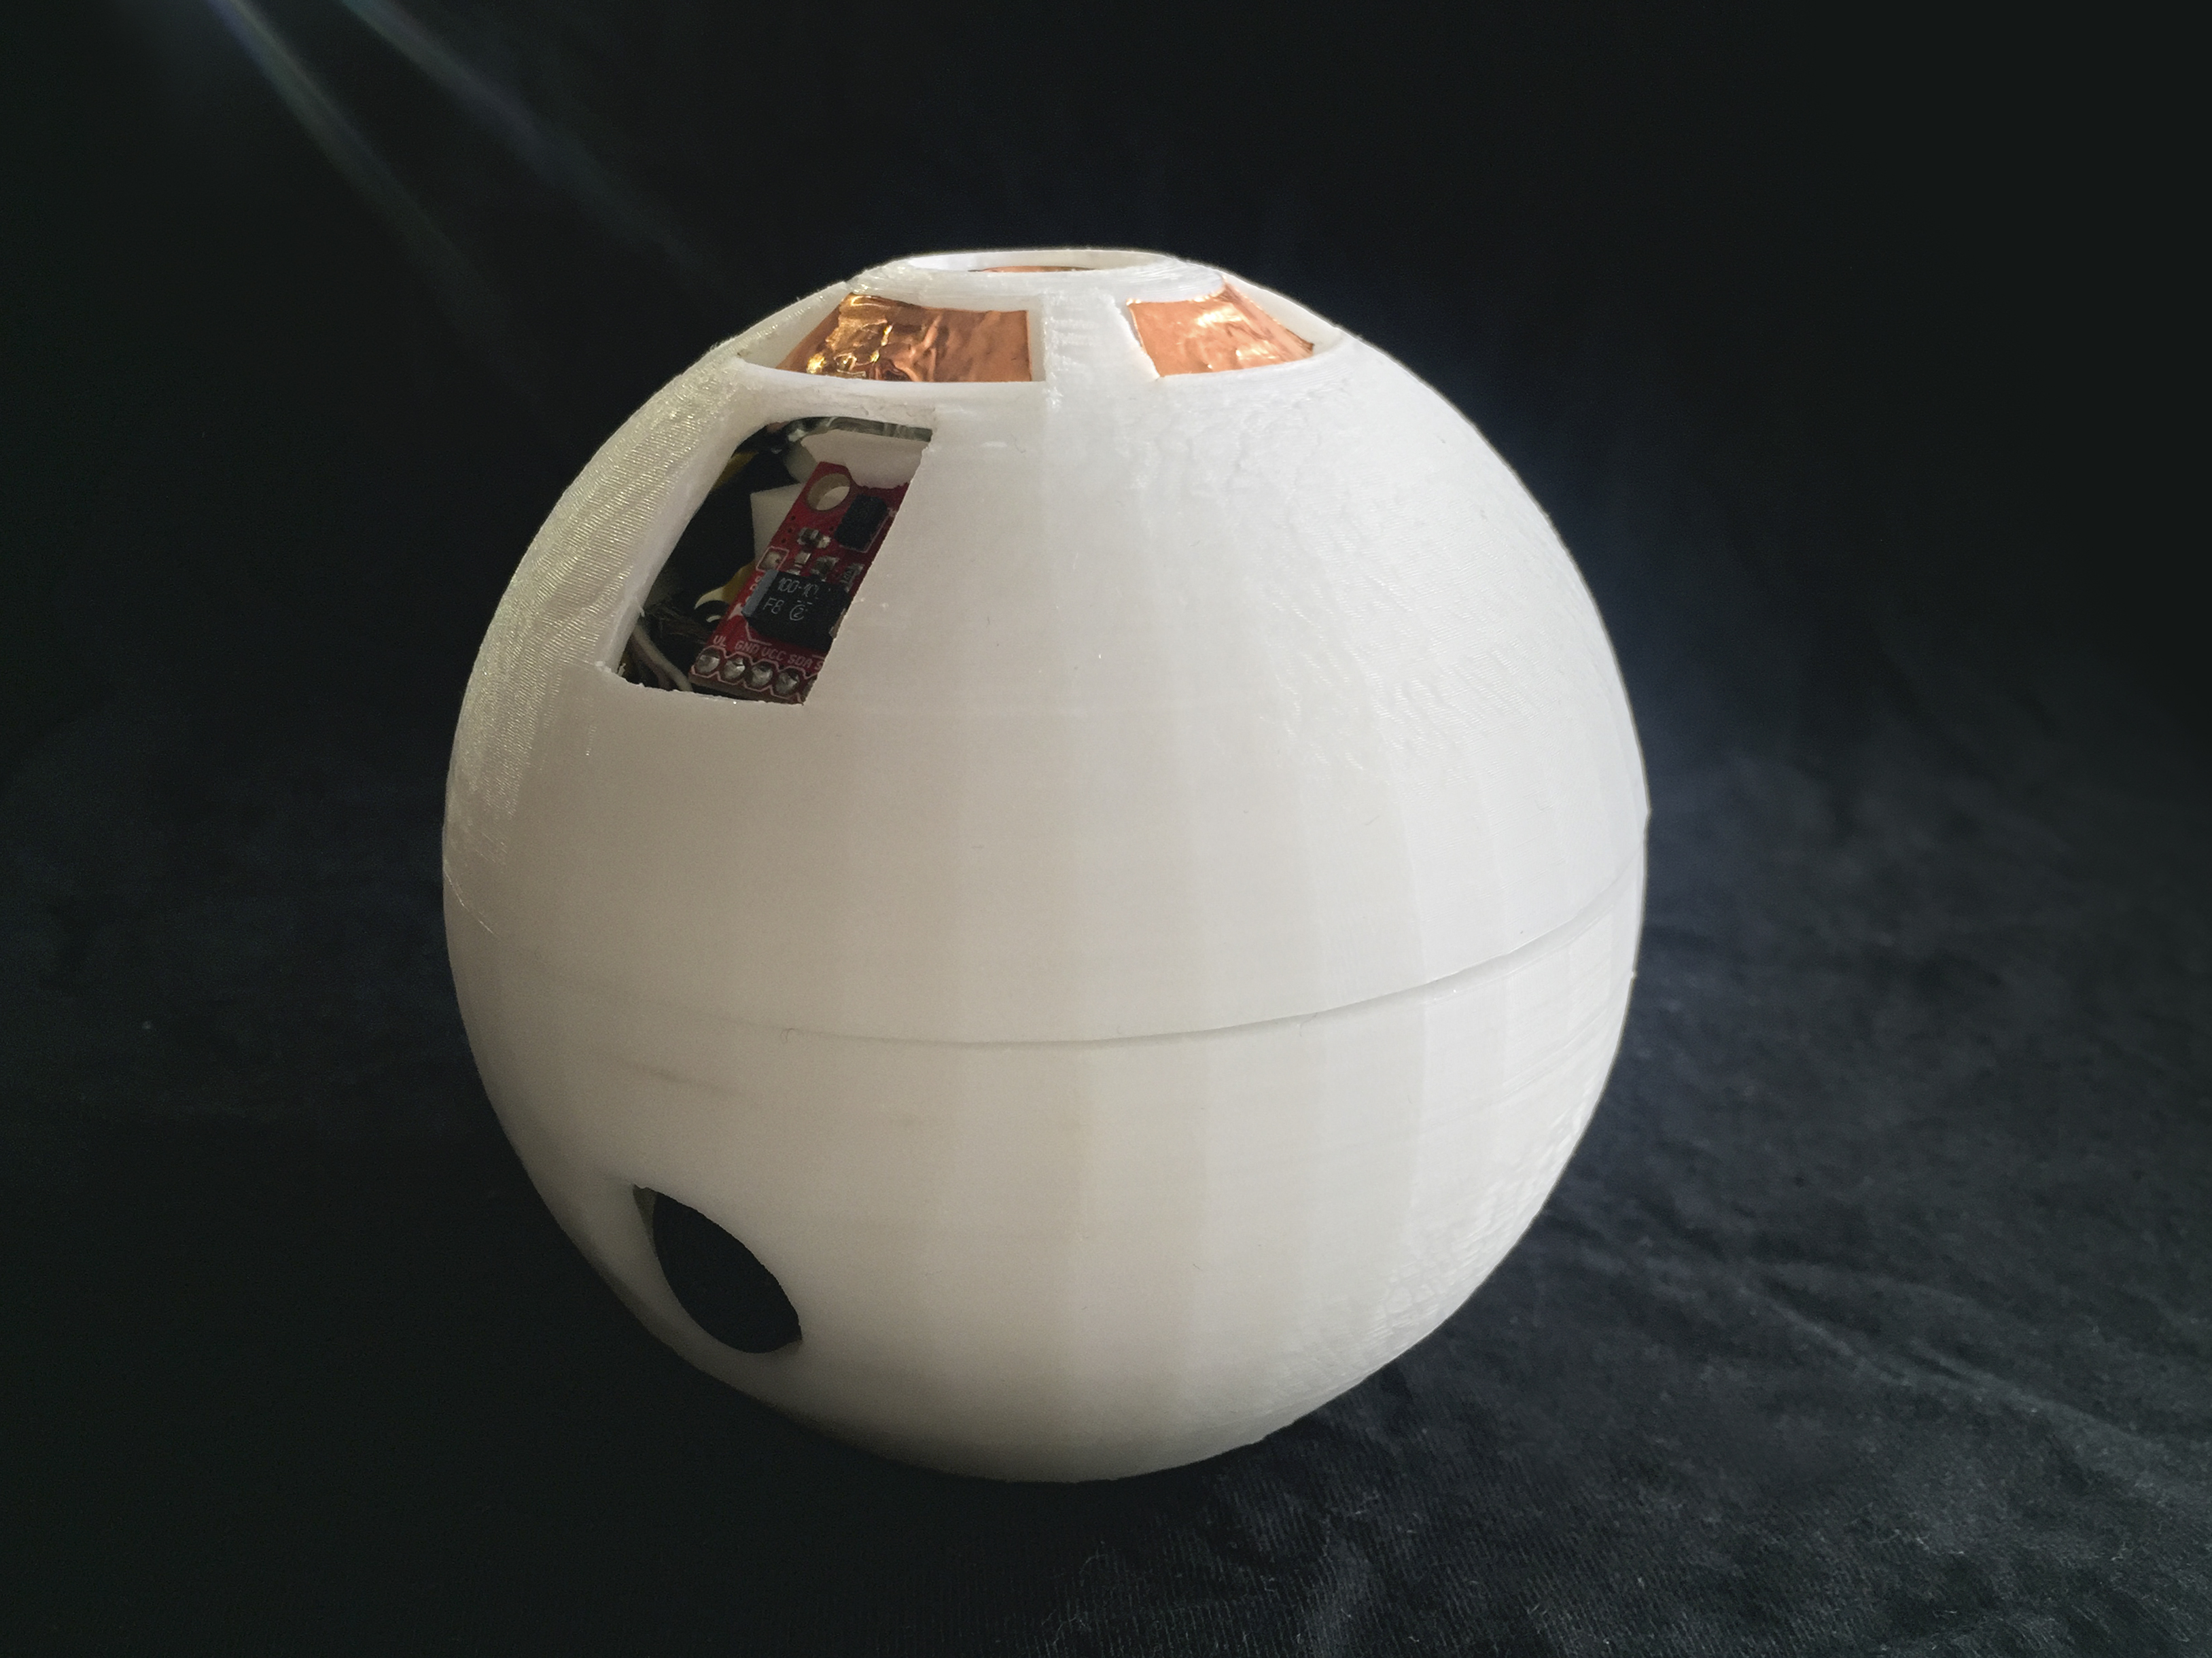
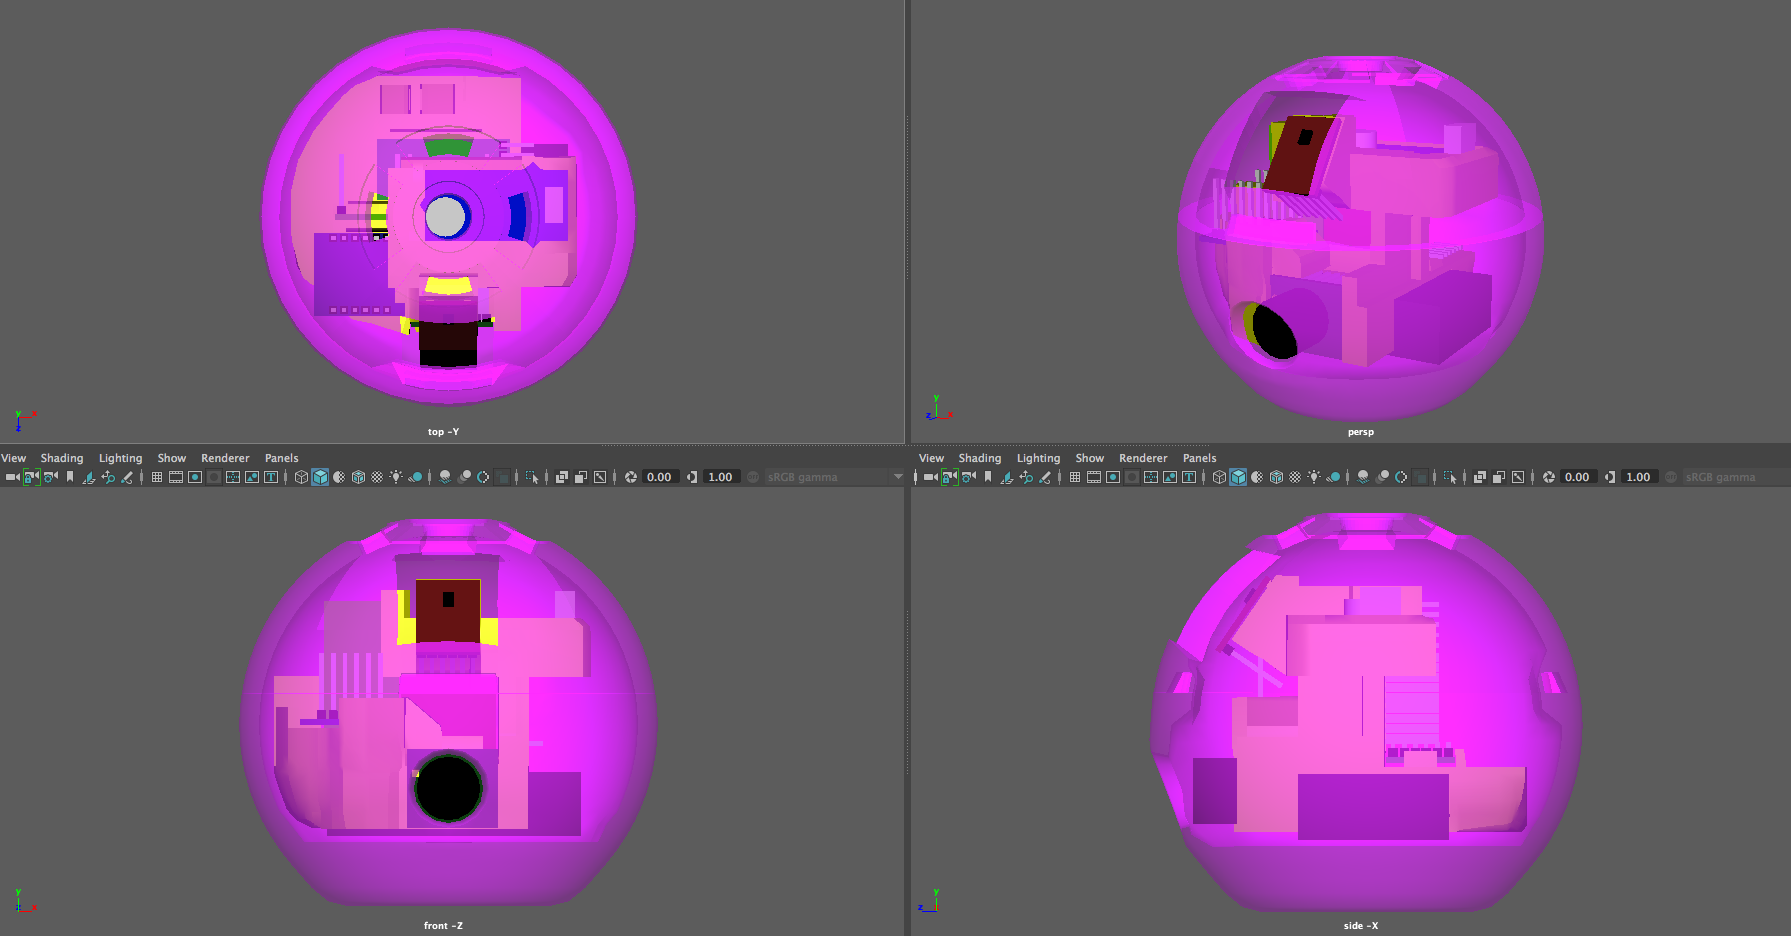
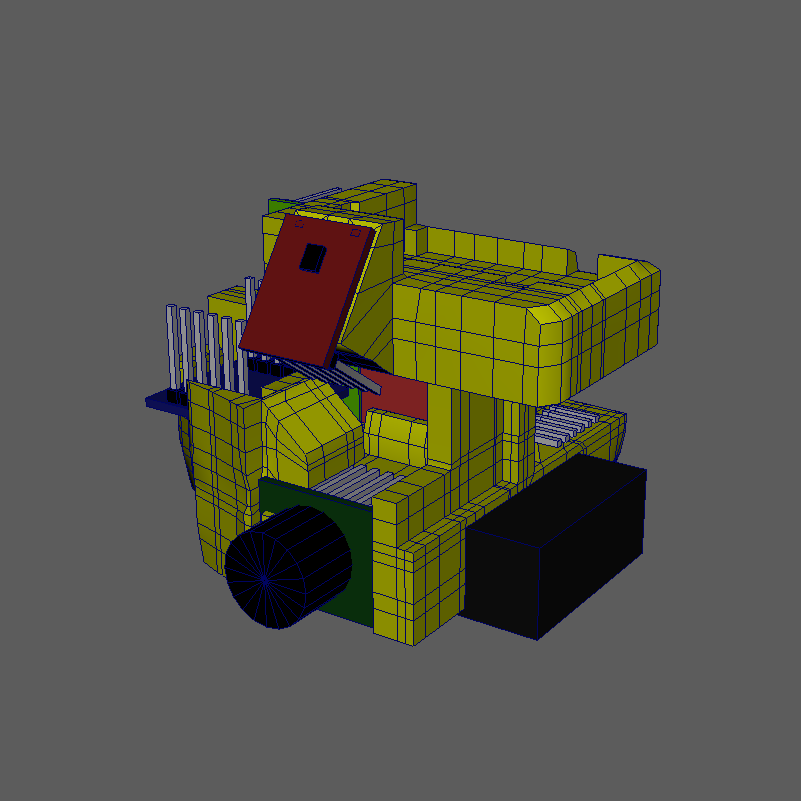
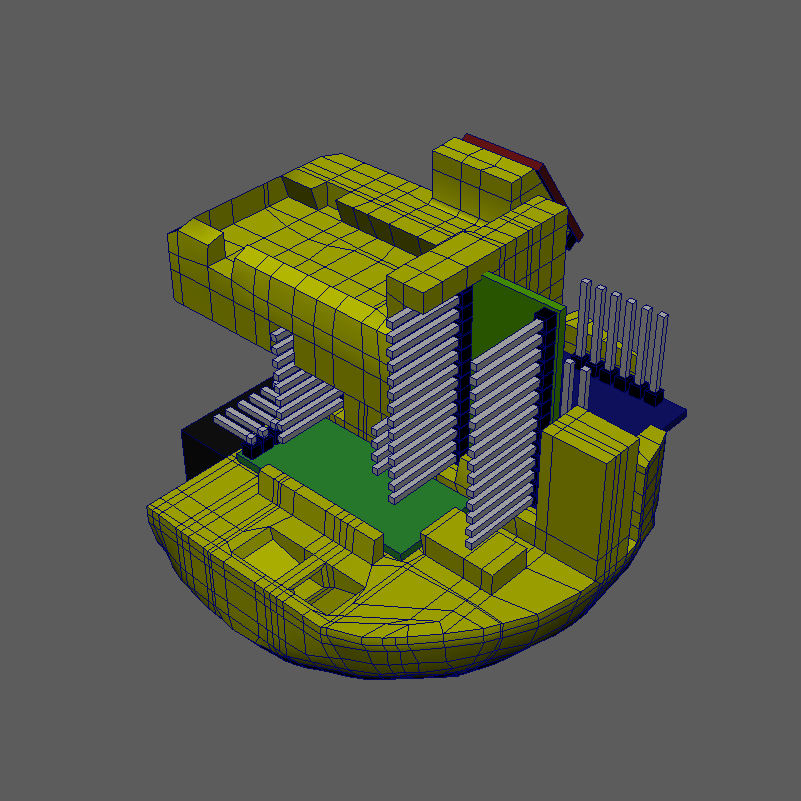
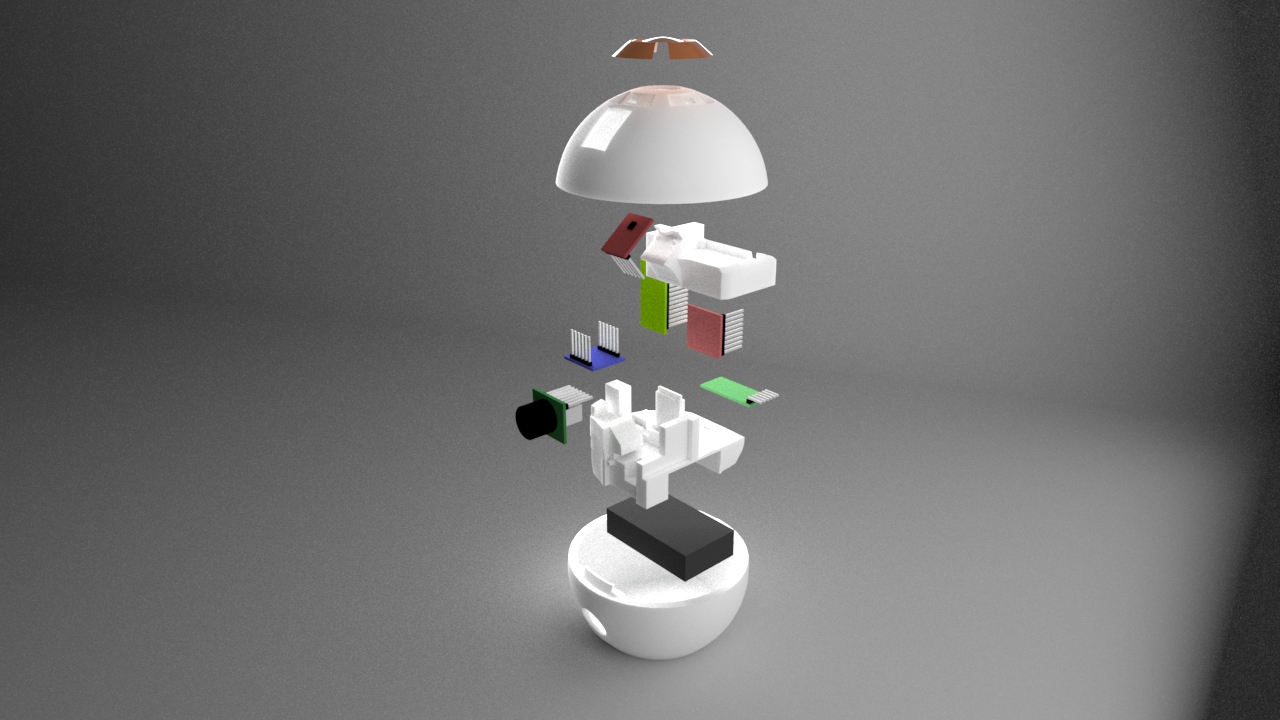
Construction
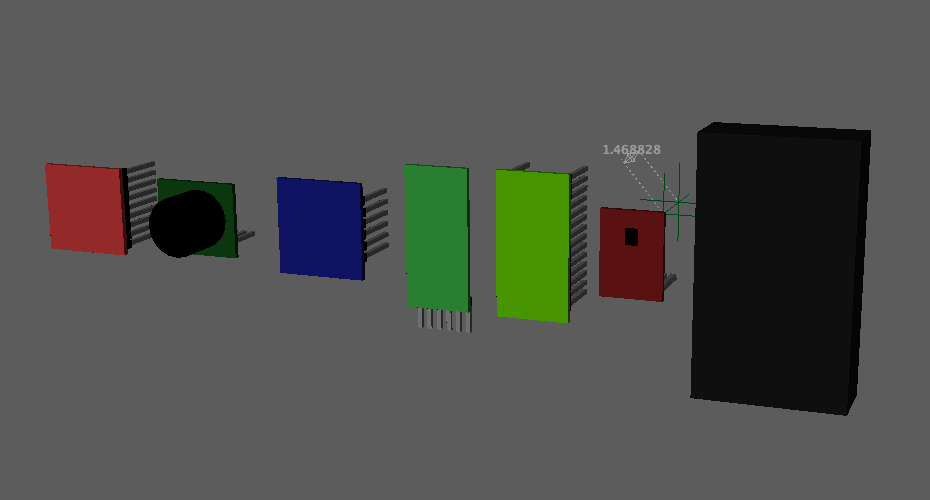
For the construction of the ProCon, I first measured every part to make fast low-resolution models of all parts. With this method, I was able to figure out the best positions for the individual parts in consideration of the general case size. After the position was set, I filled up space in between to make an individual core that can hold every part without gluing and offers a flexible exchange.
3D Renderings
For pitching the idea and first visualizations of the idea I created this 3D rendering.
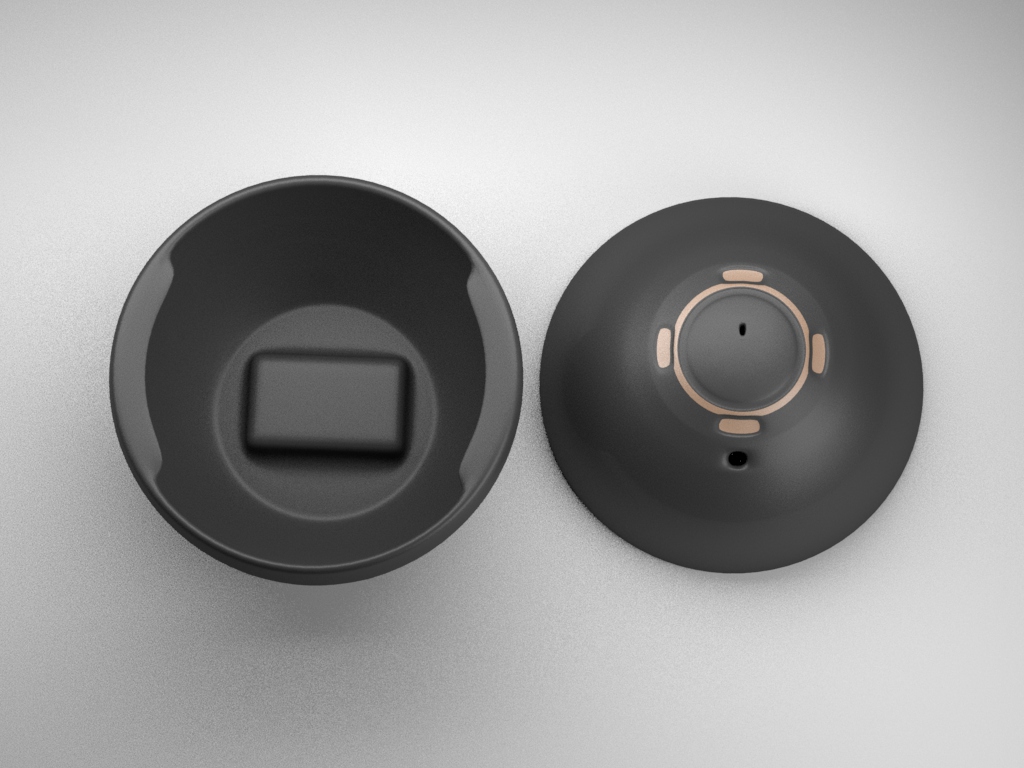
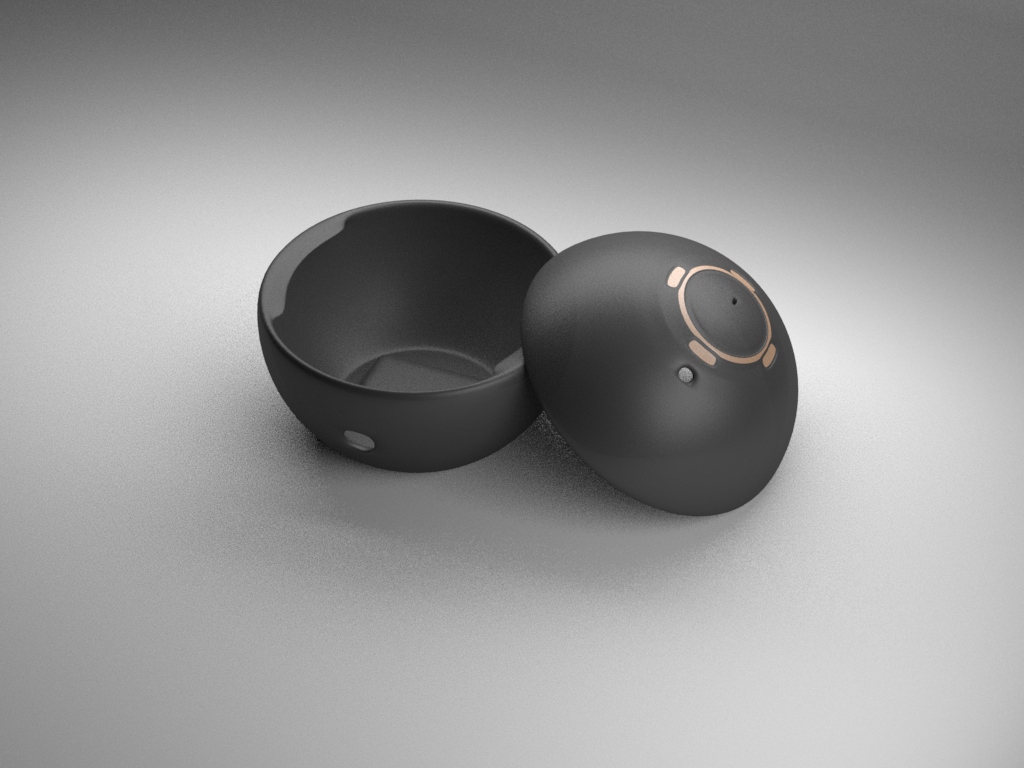
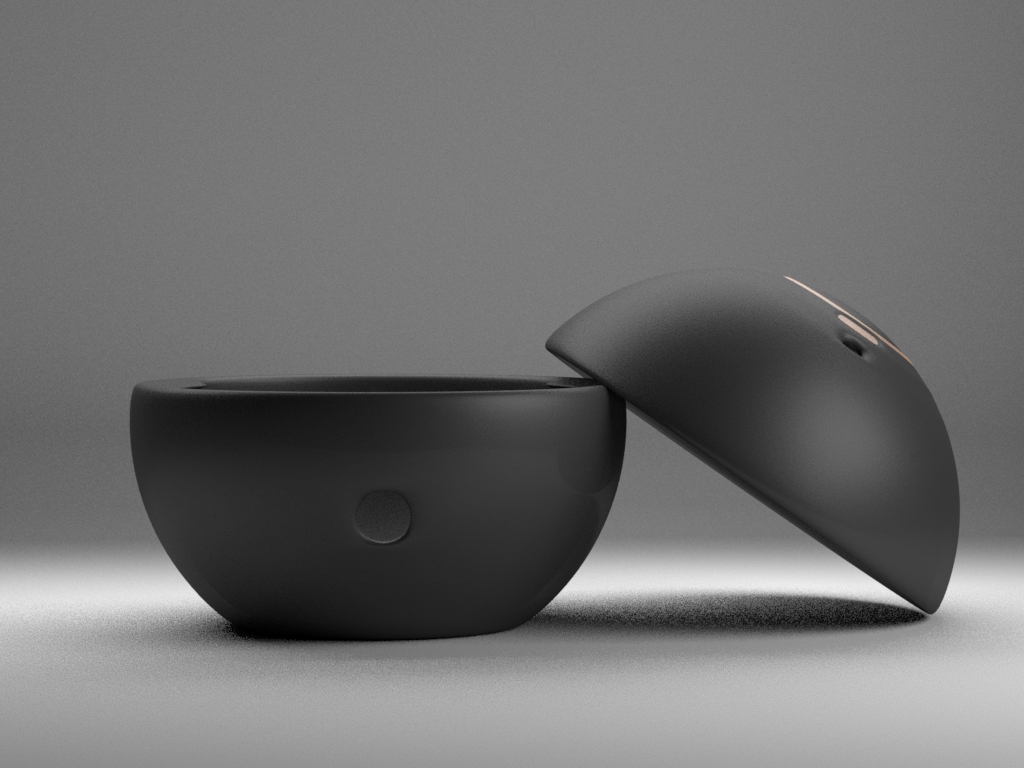
With further development and clarification of all parts and position, I made further renderings that are closer to the end result and works as social media promotion material and content for the additional concept paper.

Project Description
This device was an assignment for an electronic elective course I took in the winter semester 16/17 as part of my studies of audiovisual media at the media university Stuttgart.
In this course, we got the task to build some kind of electronic device with no further restrictions or specific orders. The professor supervised our work weekly and made with us some general theoretical session over the semester.
For my assignment, I build this device from scratch with all including steps of the whole process. Please read the following concept for further information.
Concept – ProCon
The ProCon unifies a tangible user interface, an exchangeable development board and a user sensitive input controller into one device.
In the environment/realm of interactive-installations and -exhibits, Sensors, and Microcontroller are nowadays commonly used.
For every Project, therefore this Sensors and Microcontroller need to be planed, wired and programmed from scratch. On this point, the ProCon comes in.
The Procon combines commonly used Sensors, like an accelerometer or proximity sensor in one static case. This enables the developer
to concentrate on his real job, the programming of the application. Furthermore, he can easily test the specific parts of the installation without losing time in wiring and debugging over and over again.
Therefore the ProCon can be used to control a complete installation or just to work with specific parts.
Besides the aspect of the Installation, it’s possible to use the ProCon as the tangible user interface which offers the user a less abstract
interaction in contrast to Mouse and Keyboard. The ProCon provides the developer with an easy access to the raw data from the accelerometer
or the capacitive touch input fields so that he can utilize them in any project.
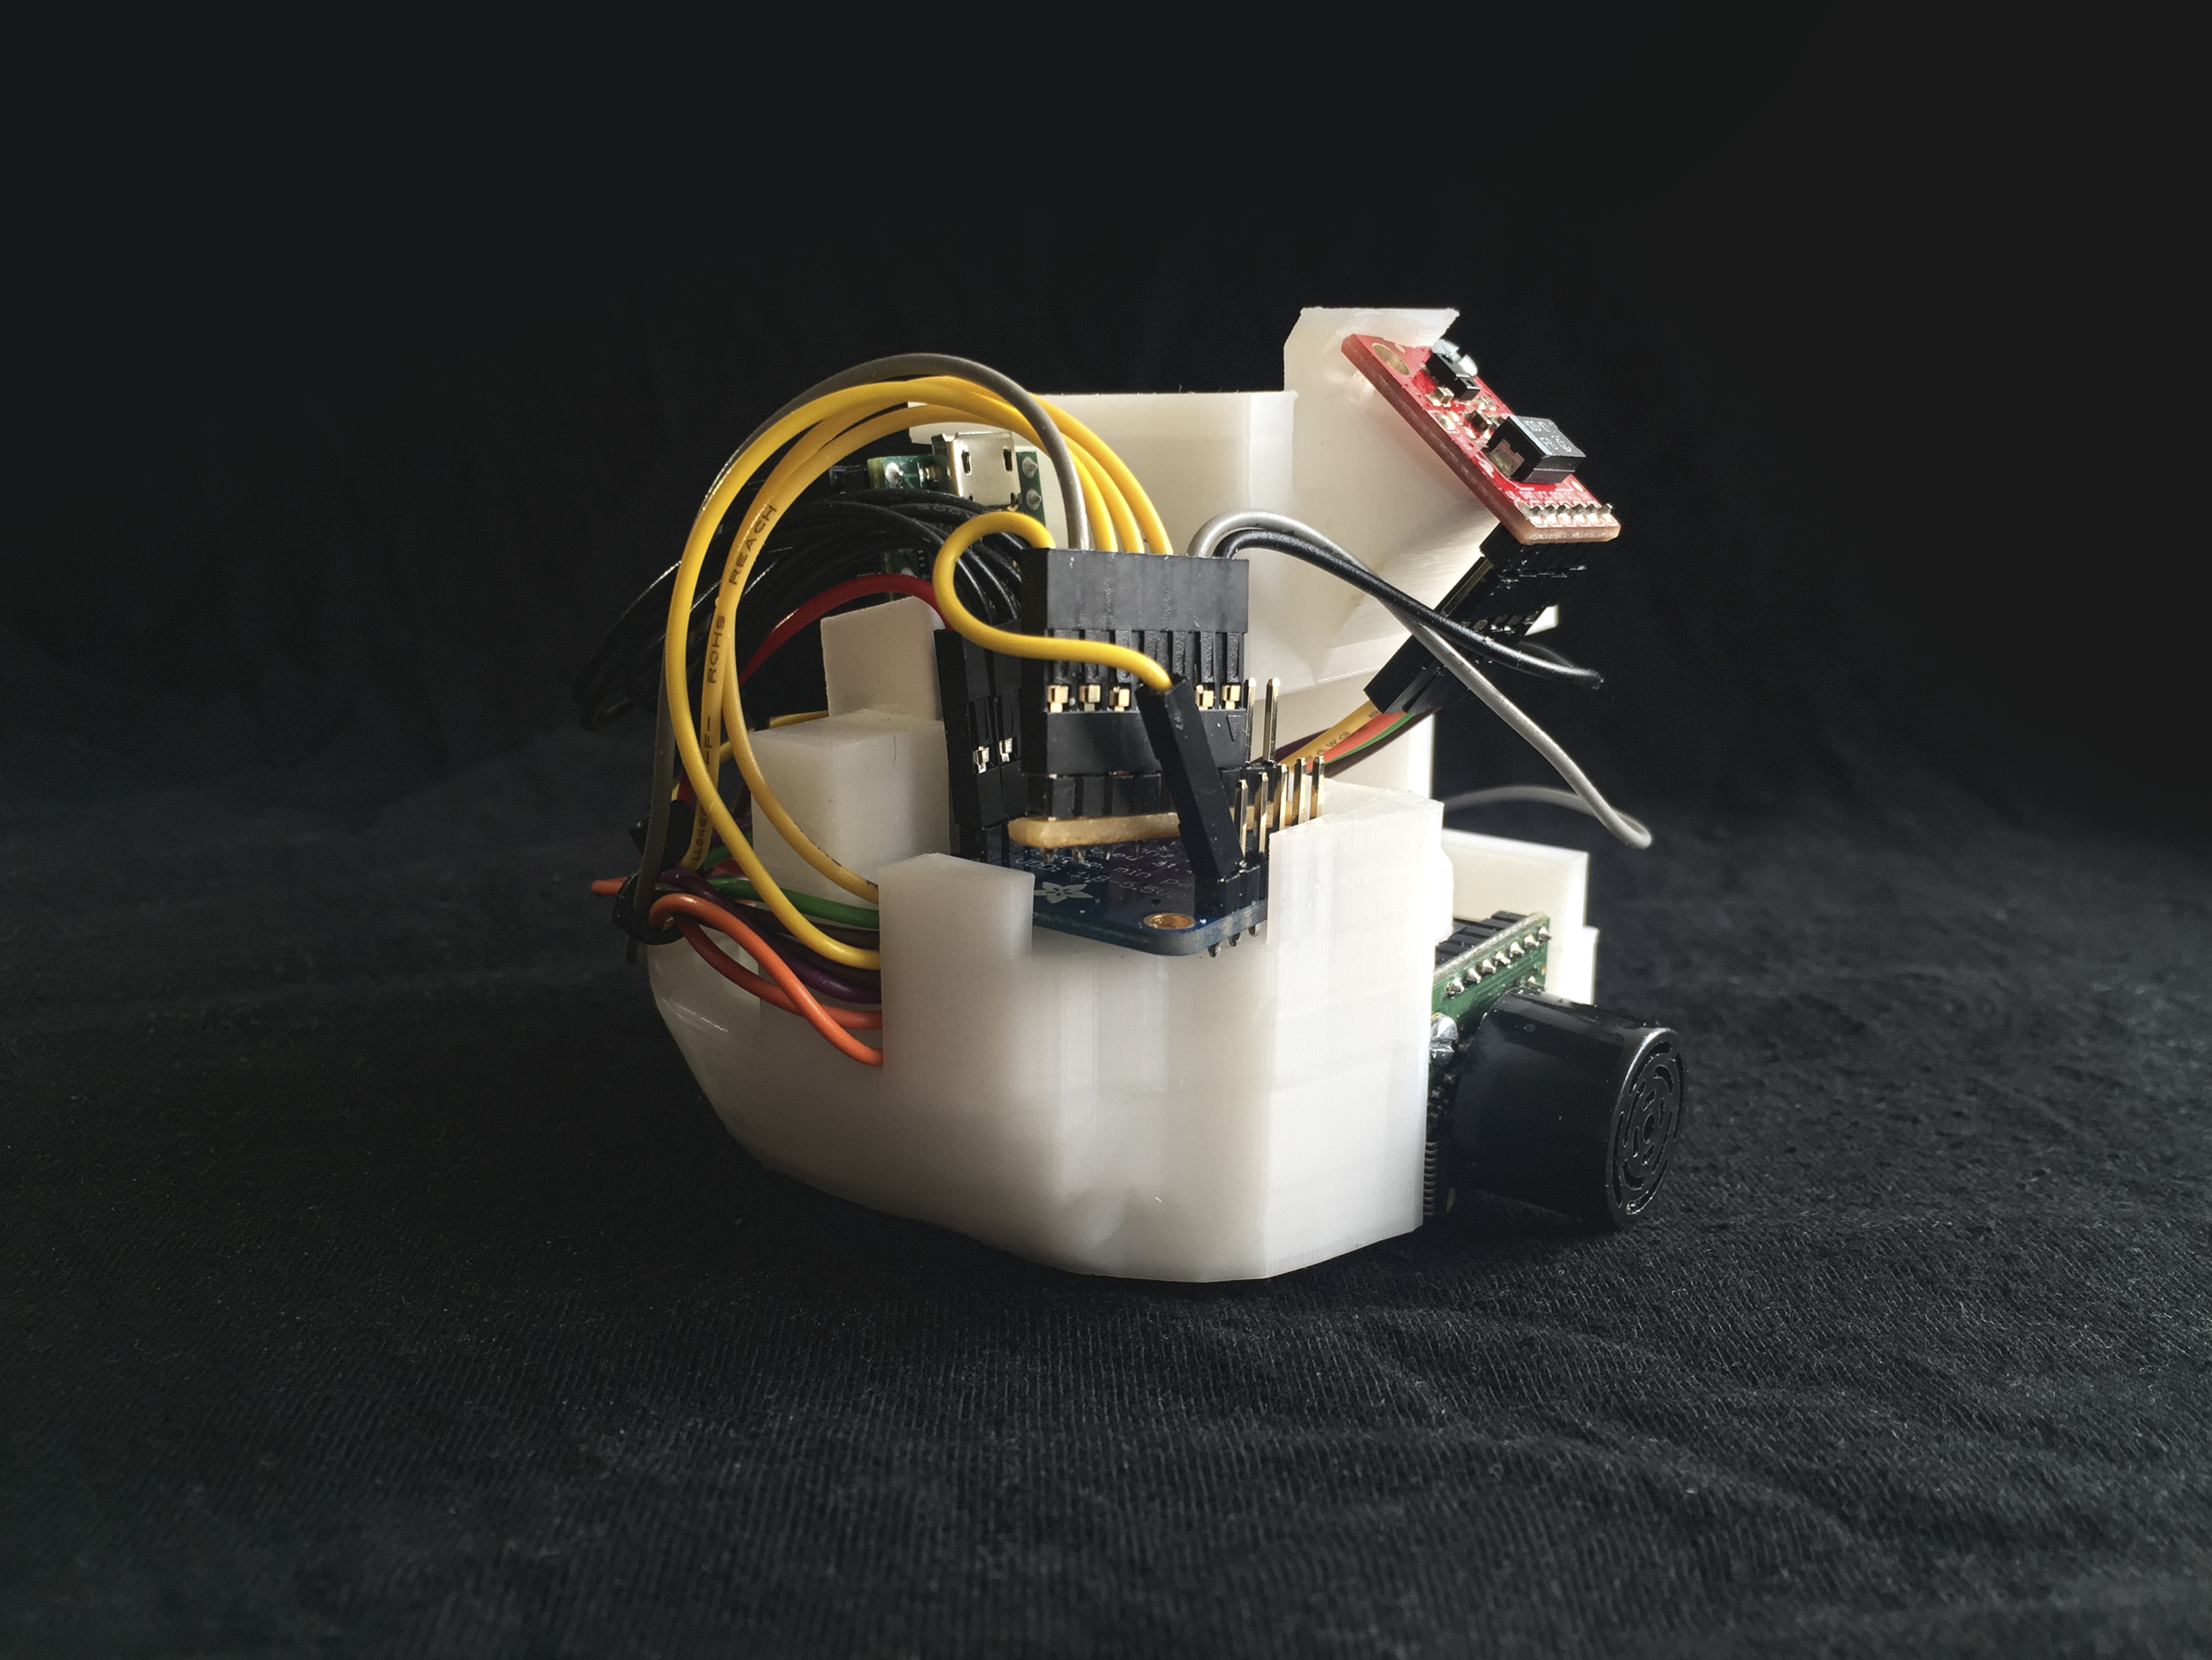
In the development of the ProCon, I put a focus on the expandability and possibilities for further easy adjustments. For that, no Sensor was
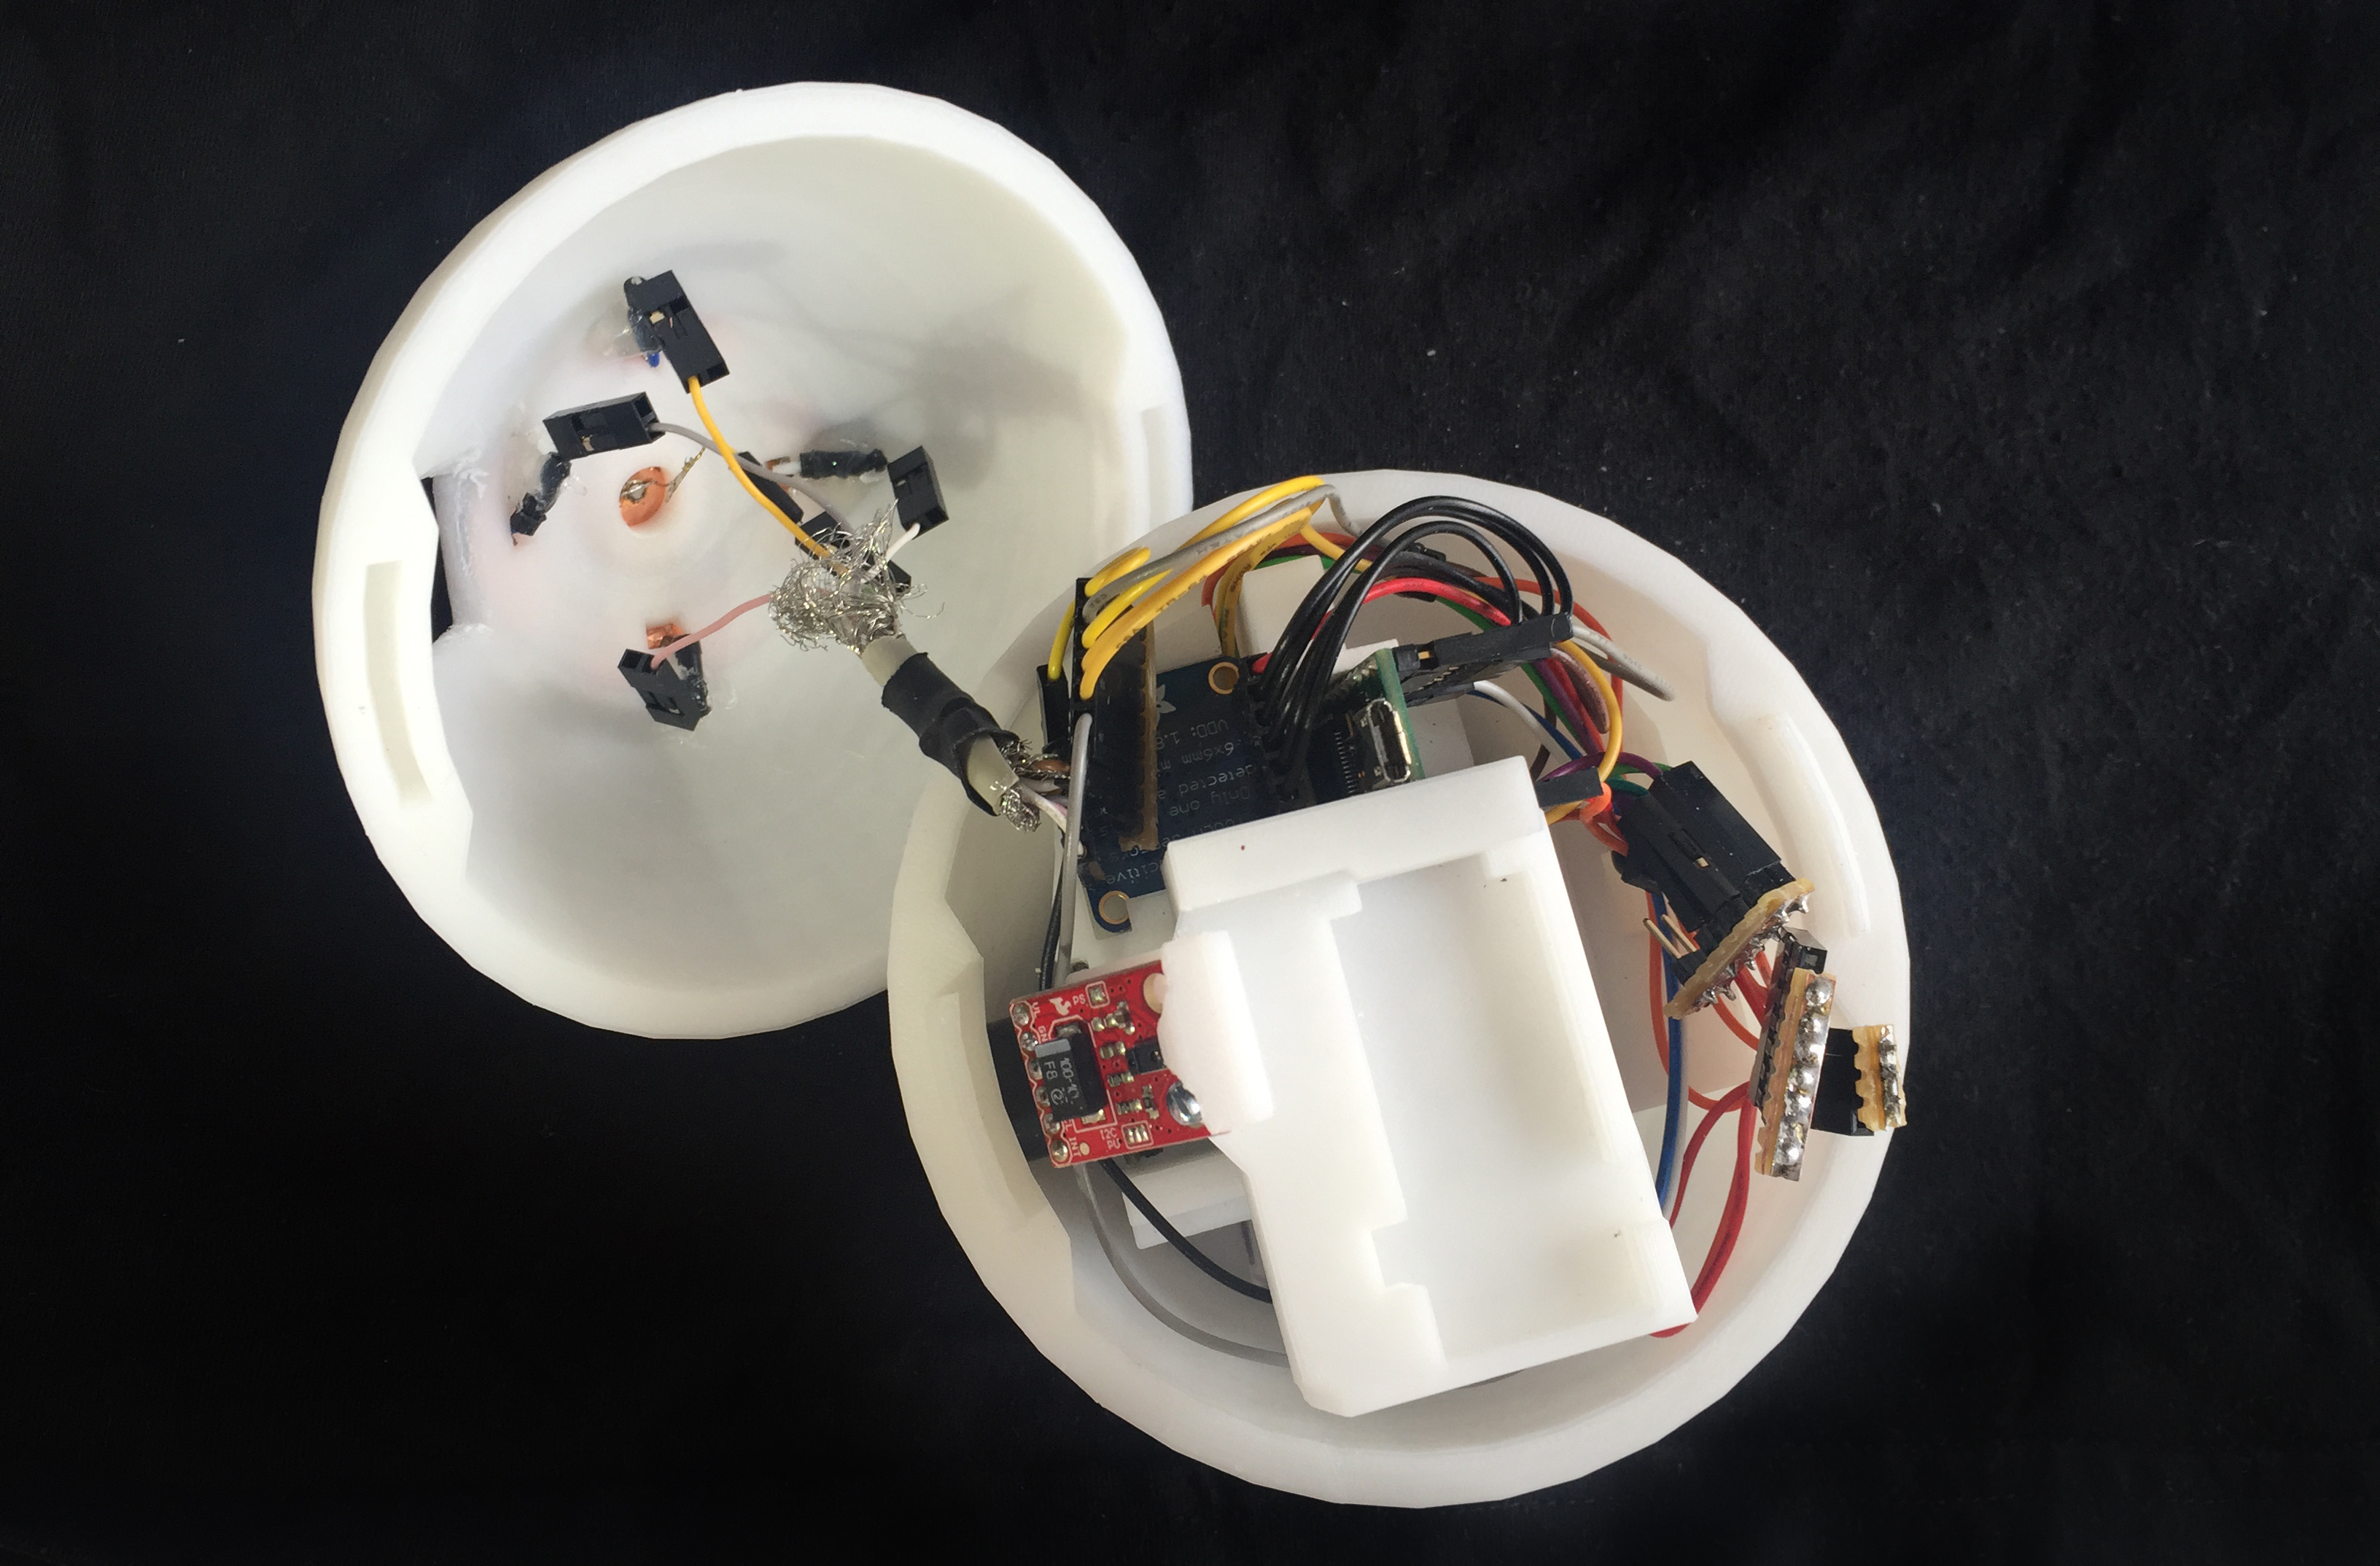
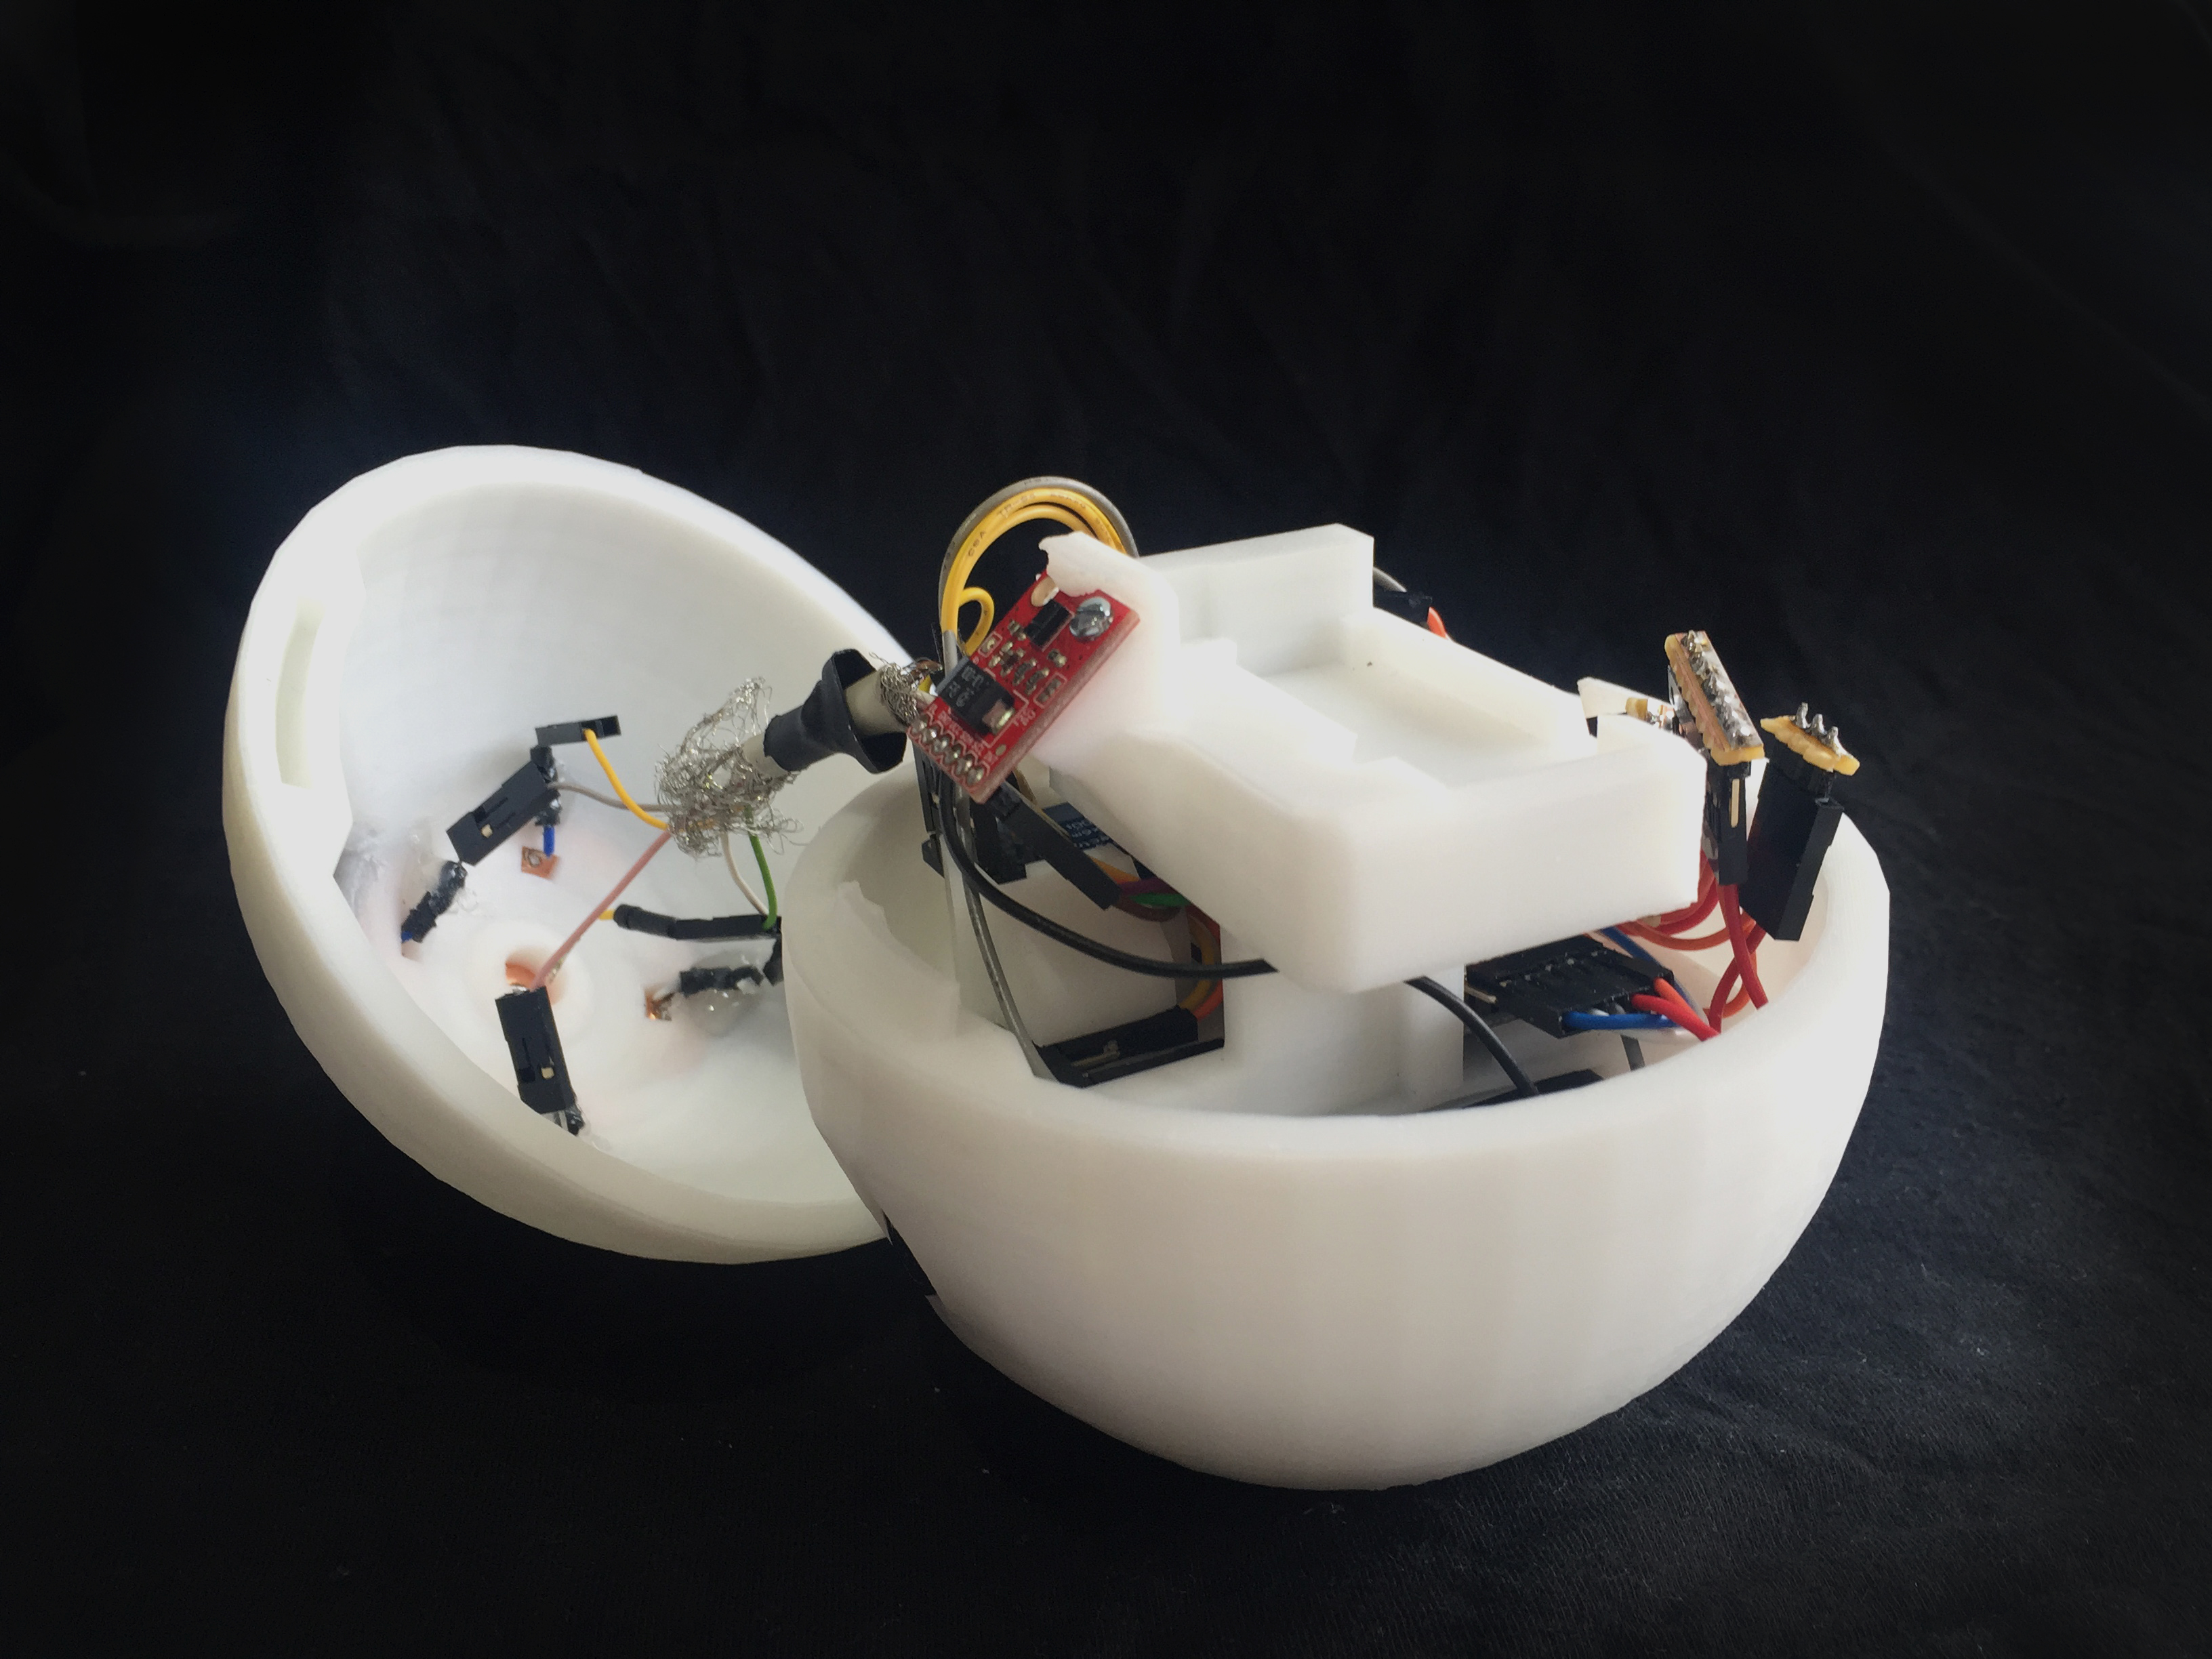
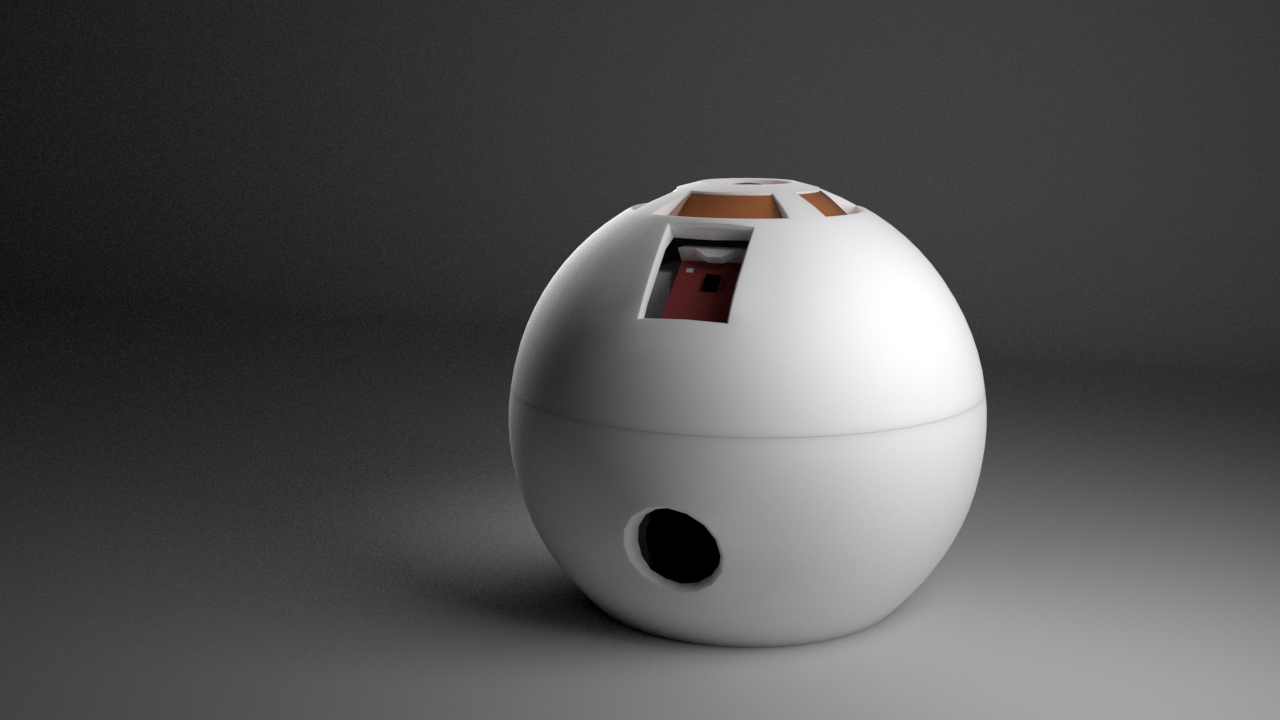
mounted via glue or other permanent methods. Instead, I constructed a 3D printed core where every Sensor got his own place.
Furthermore, every Wire-Connection was realized with simple Dupon Pin-Header. In addition, the Case 3D printed Case can be opened and closed without any tools.
All 3D printed files gonna be public cable and modified to your own needs.
- Project-Type: Idea, Concept, Modeling, Construction, Programming, 3D-Printing
- Tools Illustrator, Arduino, Processing, Maya
- Project Year 2017